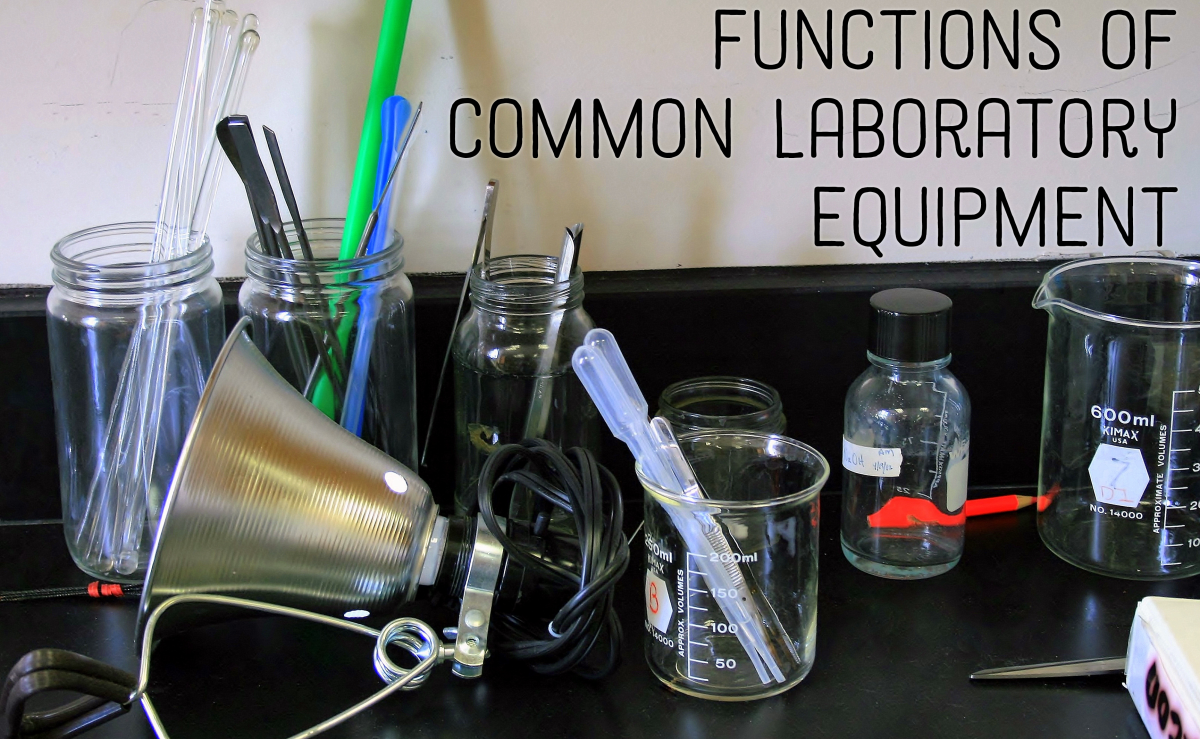
A List of Basic Chemistry Apparatus
In most labs, you'll encounter the same basic apparatus. Here, you will find a picture and an explanation for how to use each piece of equipment. You will learn about:
- Safety goggles and safety equipment
- Beakers
- Erlenmeyer flasks, AKA conical flasks
- Florence flasks, AKA boiling flasks
- Test tubes, tongs, and racks
- Watch glasses
- Crucibles
- Funnels
- Graduated cylinders
- Volumetric flasks
- Droppers
- Pipettes
- Burets
- Ring stands, rings, and clamps
- Tongs and forceps
- Spatulas and scoopulas
- Thermometers
- Bunsen Burners
- Balances
The Equipment You Will Encounter and Their Functions

The first and foremost rule of any laboratory is to be safe! This may seem obvious, but people often disregard safety protocols for one reason or another, putting themselves and those around them in danger. The best thing you can do is to make sure you follow all safety protocols at all times.
Safety goggles are required wear in all chemistry labs. Not wearing them puts you in danger of eye irritation and possibly blindness in the case of an accident. A small droplet of acid could splash out of the container at any time. Better safe than permanently blinded!
Latex gloves should be used when there is a possibility of corrosive chemicals spilling onto your hands.
A lab apron or coat can also prevent injury in case of spills or splashes.
Never wear open-toed shoes or sandals in a lab.

A beaker is a common container in most labs. It is used for mixing, stirring, and heating chemicals. Most beakers have spouts on their rims to aid in pouring. They also commonly have lips around their rims and markings to measure the volume they contain, although they are not a precise way to measure liquids. Beakers come in a wide range of sizes.
Because of the lip that runs around the rim, a lid for a beaker does not exist. However, a watch glass (discussed below) can be used to cover the opening to prevent contamination or splashing.

Also known as a conical flask, the Erlenmeyer flask was named after its inventor in 1861. It has a narrow neck and expands toward its base. This allows easy mixing and swirling of the flask without too much risk of spilling. The narrow opening also allows for the use of a rubber or glass stopper. It can easily be clamped to a ring stand (discussed below) as well as heated or shaken mechanically.
Once again, the marks on the side are meant primarily for estimation rather than precision.
An important safety tip here is to never heat this flask while it is capped. This could cause a pressure build-up that could result in explosion.

Also known as a boiling flask, the Florence flask has a round bottom and a long neck. It is used to hold liquids and can be easily swirled and heated. It can also easily be capped by rubber or glass stoppers.
Once again, safety dictates that this flask never be heated when capped. Pressure build-up and explosions can and do occur.

A test tube is a glass tube with one end open and the other end closed. The closed end is rounded. Test tubes are used to hold small samples. They are primarily used for qualitative assessment and comparison. A common place to see these is the biochemistry lab. When a large number of samples need to be tested and compared, test tubes are used to make this easier. They are also easily capped with a rubber or glass stopper.
They are generally held in a test tube rack specifically designed for the purpose. If the test tubes become unsafe to touch with bare hands (whether due to heat or another reason), test-tube tongs can be used to move them.
Never heat a capped test tube.

A watch glass is just a round piece of glass that is slightly concave/convex (think of a lens). It can hold a small amount of liquid or solid. They can be used for evaporation purposes and also can function as a lid for a beaker.

A crucible is a small clay cup made of a material that can withstand extreme temperatures. They are used for heating substances and come with lids.

A lab funnel is just like any other funnel except that it was designed to be used in a laboratory setting. They can be made of plastic or glass and can have either a short stem or a long stem, depending on what they are needed for. There are several sizes that can be chosen from based on the amount of liquid that needs to go through them quickly.

This is a primary measuring tool for the volume of a liquid. There are several markings up and down the length of the container with specific increments. Graduated cylinders come in many sizes. The smaller they are in diameter, the more specific the volume measurements will be.
When reading the volume from a graduated cylinder, you will notice that the liquid seems to have an indentation. The liquid around the edges will be higher than the liquid in the center, sloping down like the sides of a trampoline when someone is standing in the middle. This is called the meniscus. Line the lowest point of the meniscus up with the nearest marking, keeping the cylinder level to properly read the volume.

A volumetric flask is a round flask with a long neck and flat bottom. It is used to measure an exact volume of liquid. There is a small line on the neck that indicates how far to fill the bottle (use the bottom of the meniscus). They come with special caps that will not let anything in or out.
Remember that temperature affects volume; therefore avoid using liquids that will fluctuate in temperature (hot water that will cool, for example).

These are small glass tubes with narrow tips on one end and a rubber bulb on the other. They suck up liquid that can then be squeezed out in small drops. These can be used to add an indicator to a solution about to be titrated.

There are a large variety of pipettes designed to accomplish specific goals. However, they are all for measuring an exact volume of liquid and placing it into another container.

A buret is a glass tube that is open at the top and comes to a narrow pointed opening at the bottom. Right above the bottom opening is a stopcock that can be turned to control the amount of liquid being released. There are markings along the length of the tube that indicate the volume of liquid present.
A buret is used for extremely accurate addition of liquid. By adjusting the stopcock, the amount of liquid that is released can be slowed to a drop every few seconds. Burets are one of the most accurate tools in the lab.
Burets are set up by using a buret clamp in combination with a ring stand, discussed below.
To determine how much liquid is added, write down how much is initially in the buret. Then when you're finished adding, write down how much is left. Subtract the final amount from the initial amount and you have the volume of liquid added.
Again, remember to measure from the bottom of the meniscus!

Ring Stands, Rings, and Clamps

The ring stand is used to suspend burets, beakers, flasks, crucibles, etc. above other containers or, in some cases, a heat source (such as a Bunsen burner, discussed below).
Always make sure everything is clamped to the stand tightly. When clamping glass, be careful not to shatter the glass. Only tighten until snug.
When using a ring on the stand, there are usually other pieces necessary to accomplish the goal. Wire mesh is laid across the ring to distribute evenly heat and support the beaker. A clay triangle with an open center is used to suspend crucibles.
Make sure everything is balanced! Do not let the whole setup tip over.

Tongs and forceps are for grabbing things that should not be touched by hand. Some tongs are specially made to hold beakers, others to hold test tubes, and so on. There are also general tongs.
Forceps are used to grab small things like solid chemicals that are broken into chunks, so they can be safely handled and added to containers.

Spatulas and scoopulas are for scooping solid chemicals. They are typically used to scoop a chemical out of its original container onto a weigh boat so that it can be weighed on a balance.

A laboratory thermometer is used for measuring the temperature of liquids. It can be made of glass or it can be a thermocouple made of different metals.

A Bunsen burner is a mechanical apparatus that is connected to a flammable gas source. There is a knob to adjust the amount of gas flow and a rotating collar that controls airflow. These both must be adjusted to get an ideal flame for heating purposes. The burner is lit with a striker.
Utmost safety is required when using a Bunsen burner.


ليست هناك تعليقات:
إرسال تعليق
Due to the high number of spammy comments we have decided to initiate comment moderation so that we can maintain our quality standards and make good environment for our visitors. Please leave your comment